Watch the video
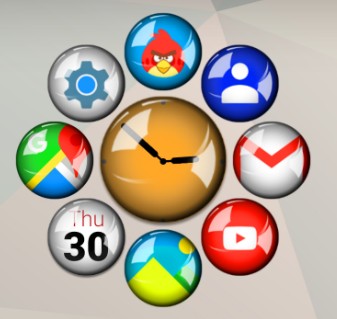
Two types of clock bubbles:
- Main clock: Each widget can have a main clock bubble, which will be kept in the main position (usually center) and it will stay larger than the biggest bubble in the cloud
- Time/date bubbles: you can also add any number of time/date bubbles to every cloud, these can show the day of week, date, or parts of the time
You can see both in the example on the right.
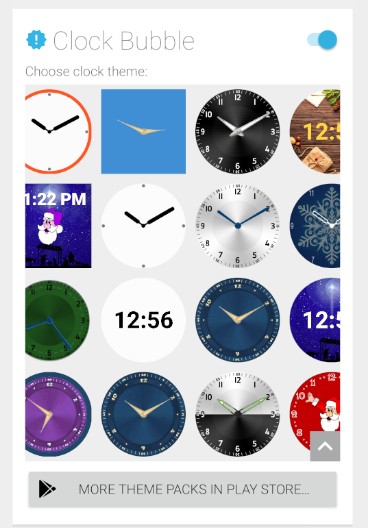
Adding a main clock bubble
- Enable the clock bubble for any widget, using the switch in the cloud configuration screen, then choose a ready made theme or one of the custom themes you saved earlier
- This clock bubble is the “main bubble”, which means it stays to be the biggest and in the central location of the layout you pick, no matter how other bubbles are arranged or auto-arranged
- You can remove the clock bubble by turning the switch off (customizations will be saved in a User Theme, which show up in the front of the theme selector)
Customizing the clock bubble
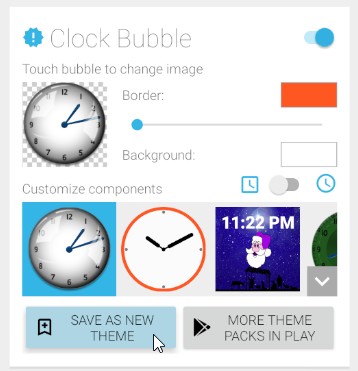
After picking an initial theme, you can customize the clock bubble:
- Adjust border and background, or replace components from other themes:

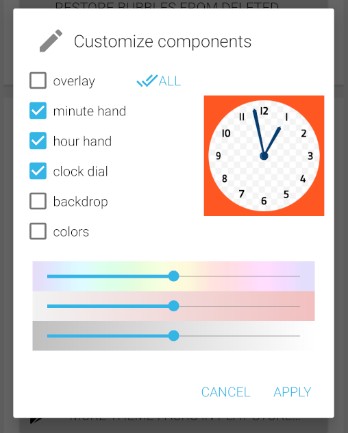
- Tap on the preview image to supply even your own back, dial or overlay images:
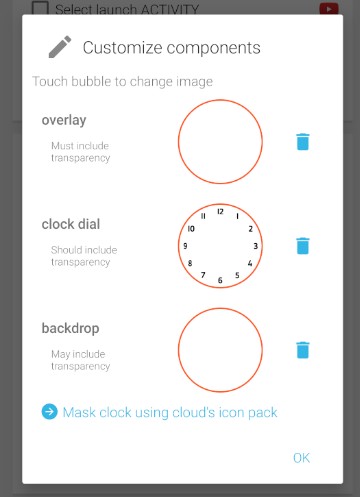
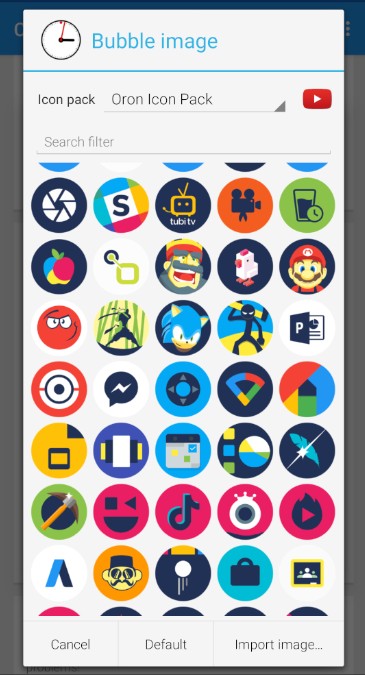
- It’s easy to use any icon from an icon pack as background image (as shown above), but you can do more: Mask the clock using the icon pack you assigned to the cloud earlier:
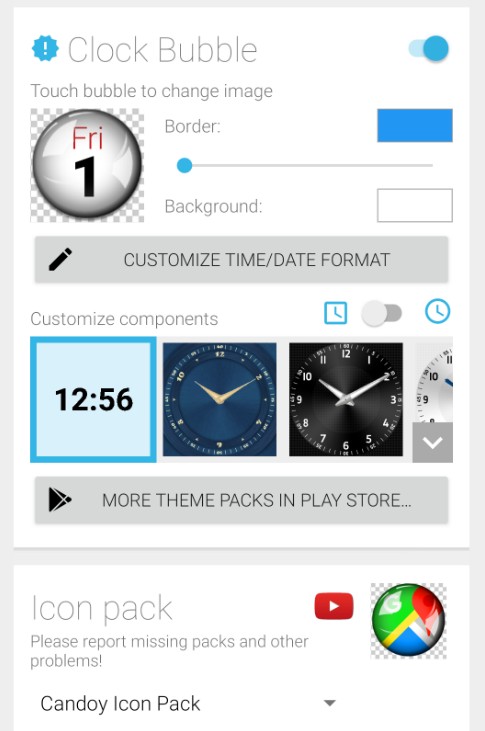
- Digital clock bubbles can show the time in many different formats, but you can also add the date using the button “Customize time/date format”
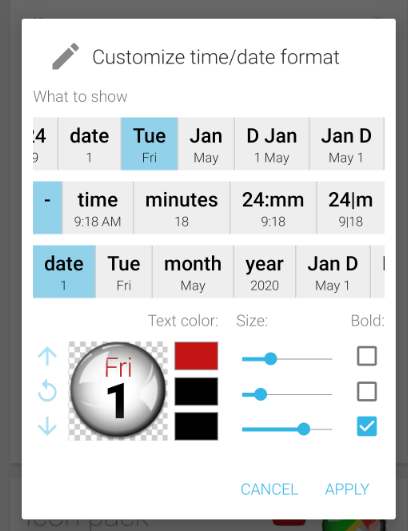
- On this screen choose the content of the 3 rows, set color, font size, style and even adjust vertical positioning. Note, you cannot use fonts, and this unfortunately an Android limitation in home screen widgets.
- Save the theme if you want to use it in another widget later
Adding more time/date bubbles
Use the FAB (floating action button) in the Cloud configuration screen to add more time/date type bubbles:
Clock bubble clicks
Clock bubbles behave similarly to the pencil in a cloud:
- Clicking the clock bubble will bring the cloud into edit mode
- Unless a cloud has nothing but a main clock bubble, in which case it will directly take you to the Cloud configuration screen (where you can edit the main clock bubble or add other bubbles)
- In edit mode, clicking the main clock bubble will also take you on to the Cloud configuration screen
- Other time/date bubbles show their own edit screens
You can move time/date bubbles:
- within the cloud using the swap tool
- or between clouds using the “Move to other cloud” action in the Clock bubble edit screen
Note the bookmark cloud acts slightly differently:
- You cannot have a main clock bubble in the Bookmark cloud, since it doesn’t have a Cloud Configuration screen (you can adjust the bookmark cloud via the default settings in the main Bubble Cloud app)
- Hence you cannot add time/date bubbles directly either, but you can move or swap them between clouds.
- If you chose to merge a deleted widget’s content into the bookmark cloud the deleted widget’s main clock will not be reserved
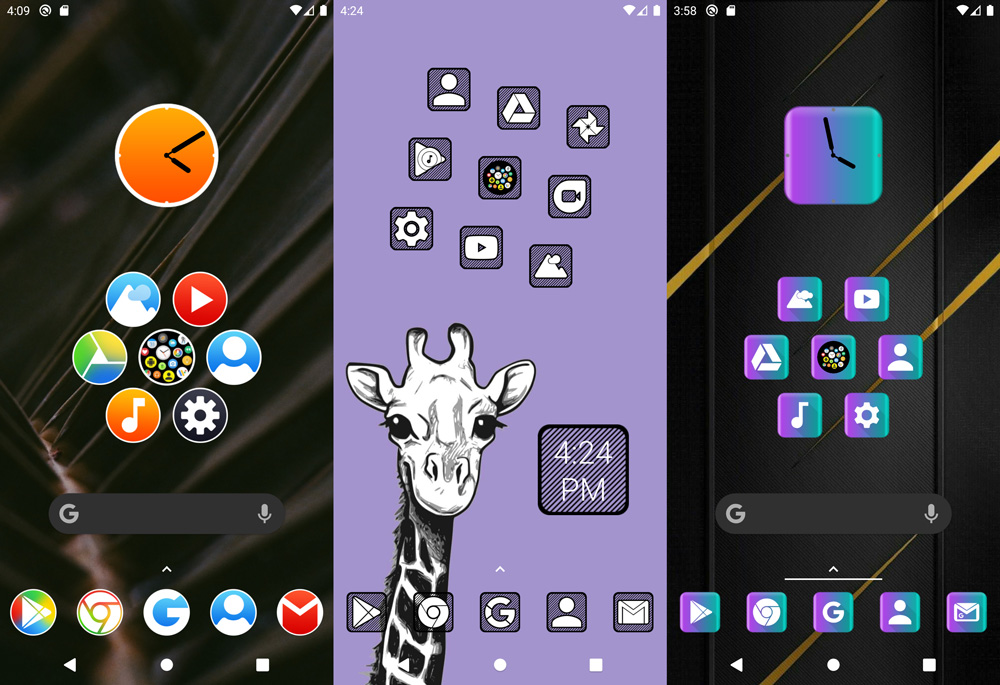
Examples
Here are a few fun examples of new cloud layouts and the clock widgets masked with the icon packs:
Updating the clock bubble theme
In v9.79 you can automatically update also the time/date bubbles in a widget when changing the icon pack associated with the widget:
For details see release notes: v9.79: Theme clock bubbles in home-screen clouds