In short:
- Move the bubbles into a folder
- Assign the folder to the Bubble Cloud Tile (it’s assigned by default)
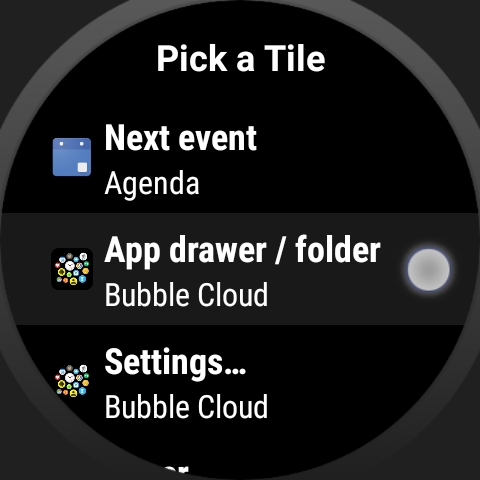
- Add the Bubble Cloud Tile
In more detail:
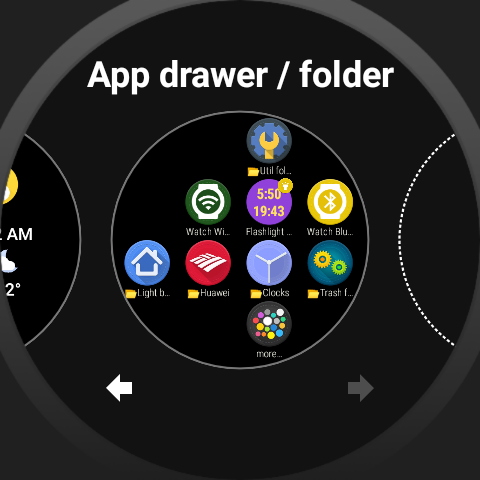
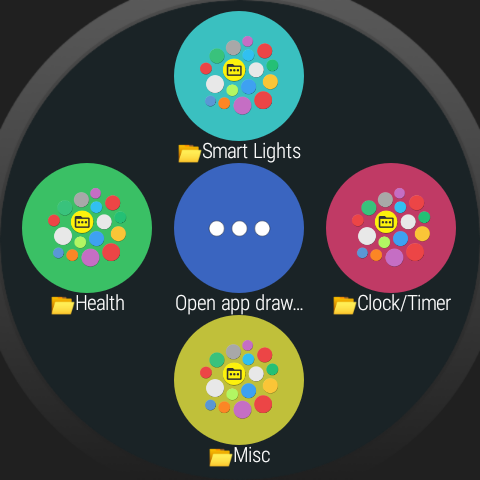
1. Long press bubbles to move them into the Tile folder (or any folder if the tile folder has not yet been created):
2A. If the folder appears as a tile symbol you can skip to step 3.
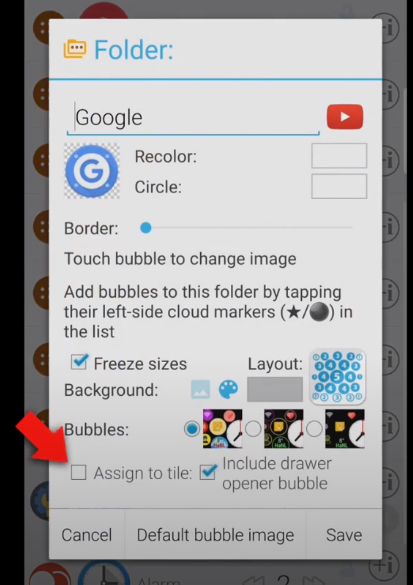
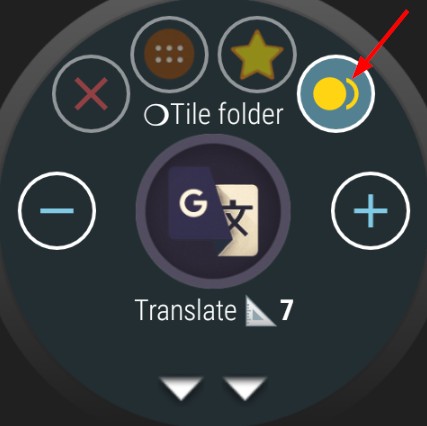
2B. If it still appears as a regular folder, long press on it to edit:
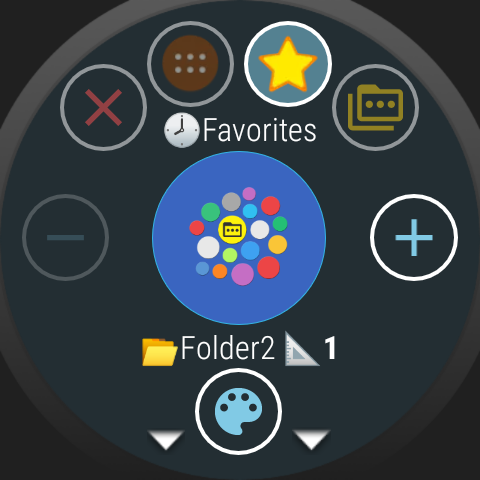
Then assign it to the tile (scroll down for the option):

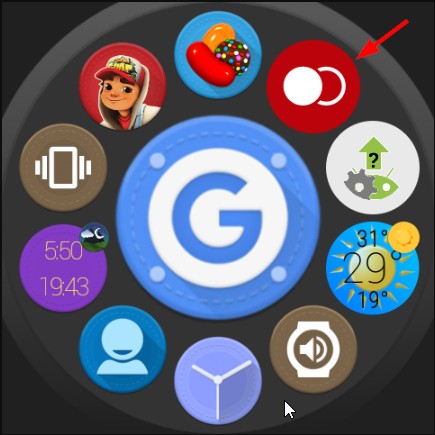
3. After you created the tile folder, you can go ahead and add the Bubble Cloud Folder tile:

Using the app on the phone
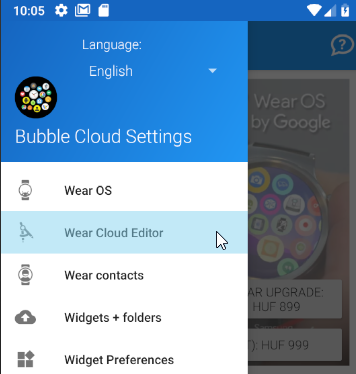
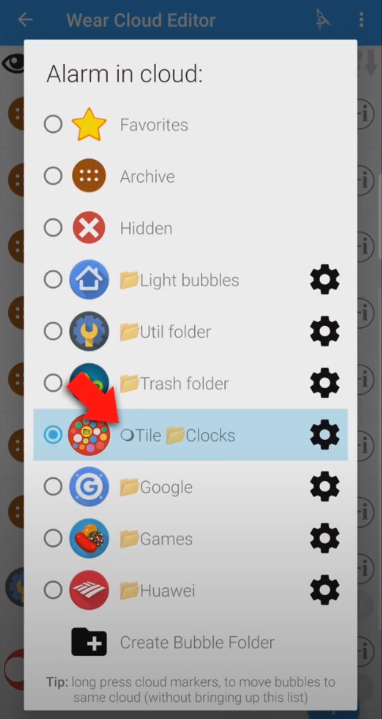
Use the Wear Cloud Editor to move bubbles to and from the Tile folder:
- Open Wear Cloud Editor
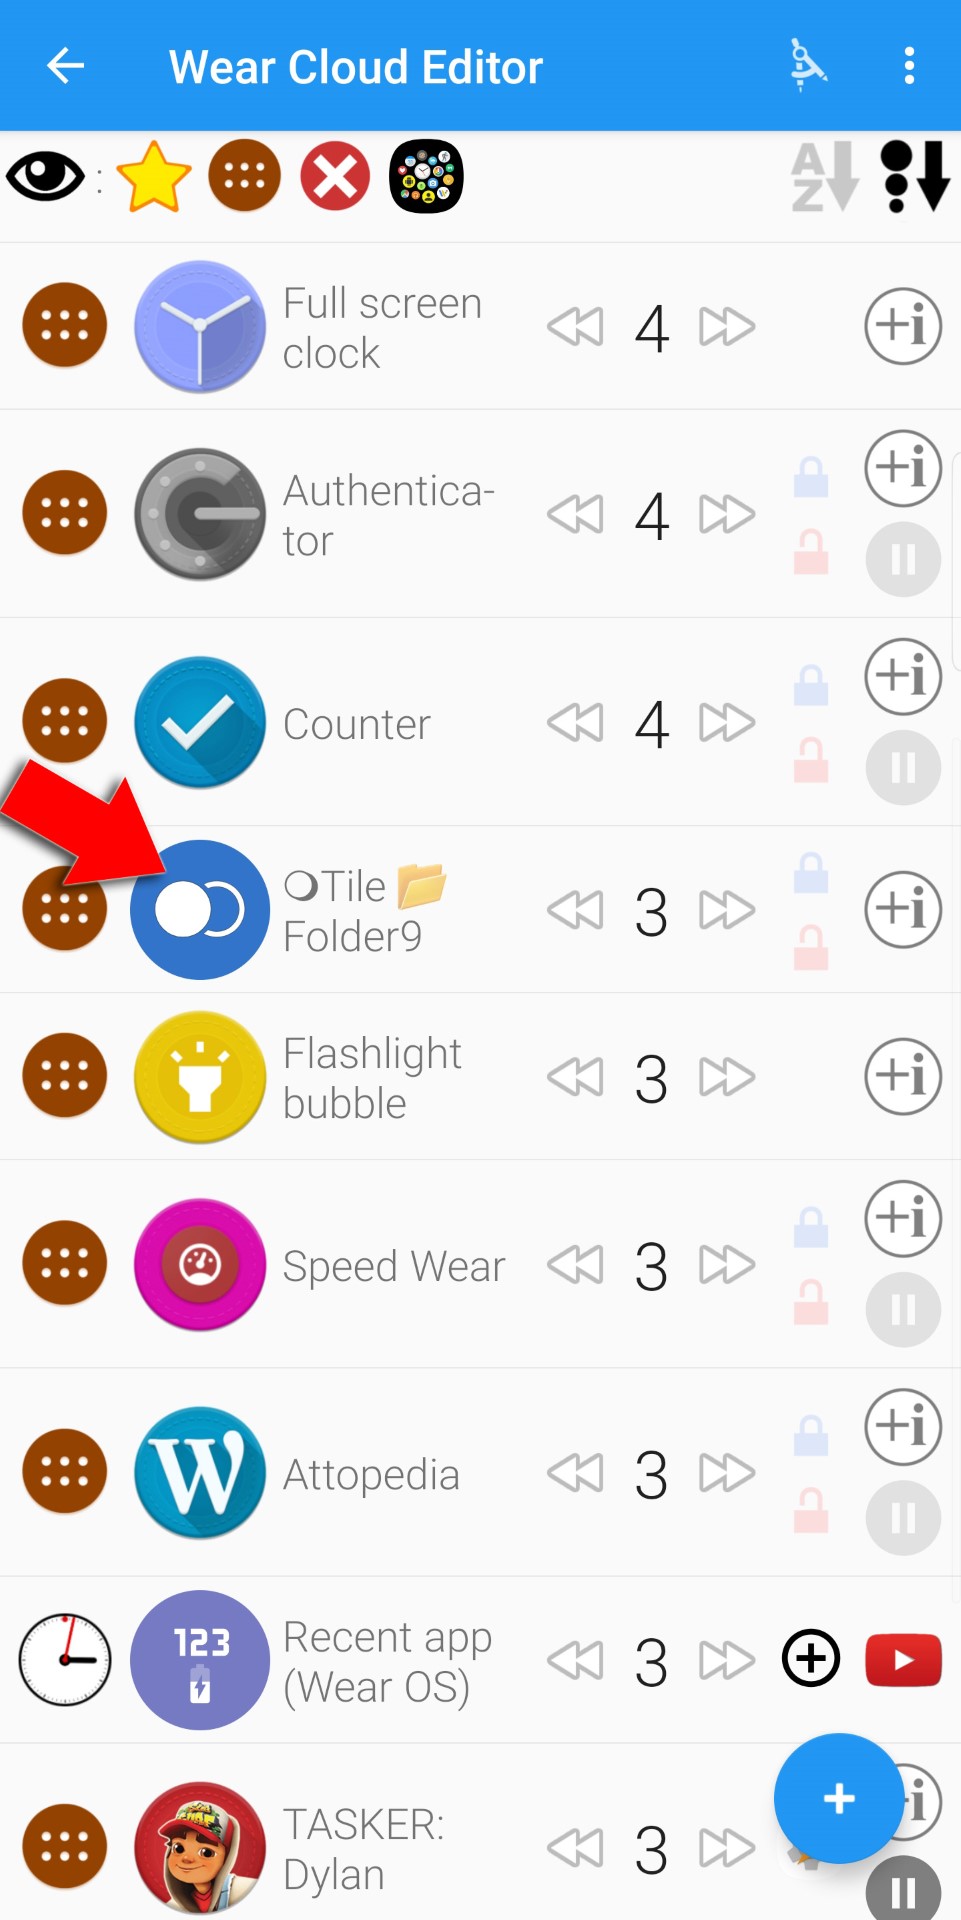
- Tap on the cloud designator icon on the left side of the bubble’s row (legend: star for favorites, button for archive, X for hidden bubbles, or you will see the folder’s icon if the bubble is already in a folder)
- Change which cloud you want the bubble to go into. The Tile folder will be one of the clouds listed there:
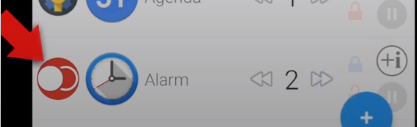
If you don’t see a folder tile in the list of clouds:
- Create a folder:
- Assign it to the tile: