Also see: Steps by step – How to add bubbles to the Wear OS tile
New: add bubbles to the Bubble Cloud tile
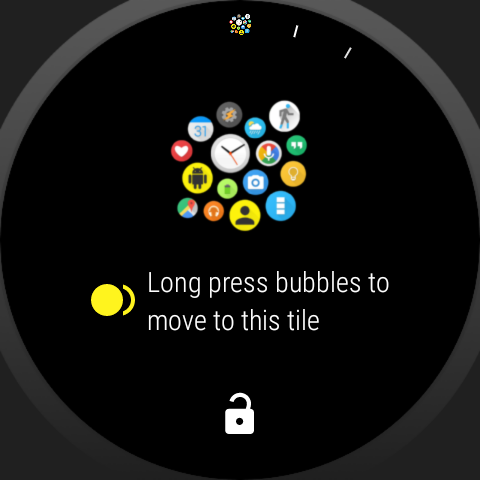
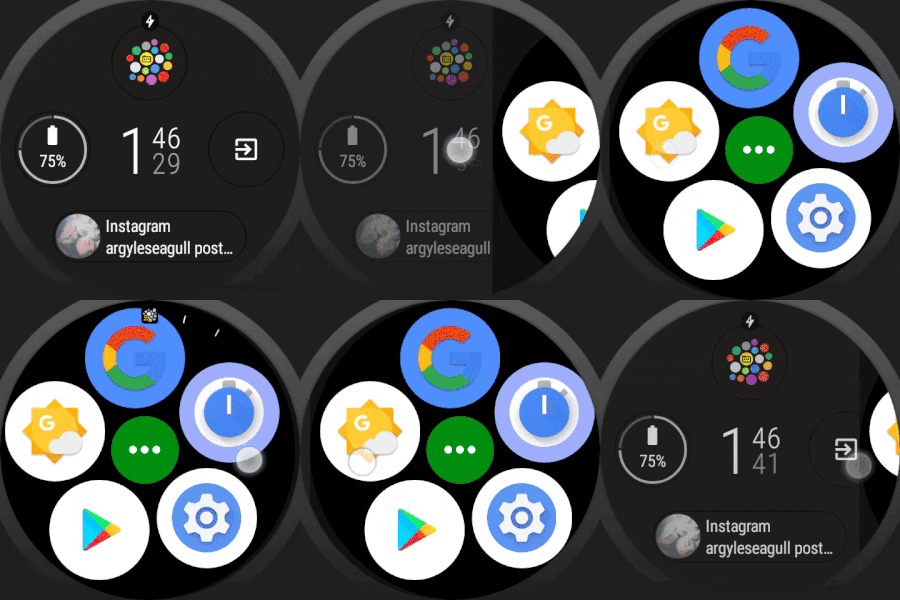
- In addition to the tile, which simply opened the app drawer, now you can assign a whole folder of bubbles to the Bubble Cloud Tile:
- The tile will show the folder with an optional “more” bubble (3-dots), which opens the app drawer
- You can add the this 3-dot “more” bubble to any folder:
- it will take you to the app drawer for folders in tiles and opened from watch face complications
- it will take you to the the settings screen for the folder if the it was opened from the the app drawer
:
- All Smart-auto layouts work for the folder-tile as well:
Round Grid (with optional labels) Galaxy Amorphous (random) Outline Corners See this post on how to adjust layout for folders
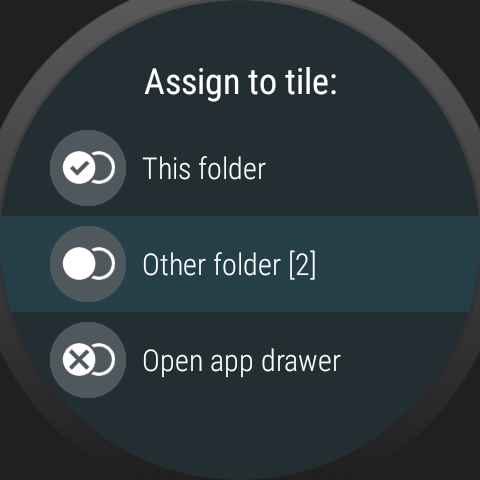
- You can assign any folder to the tile:
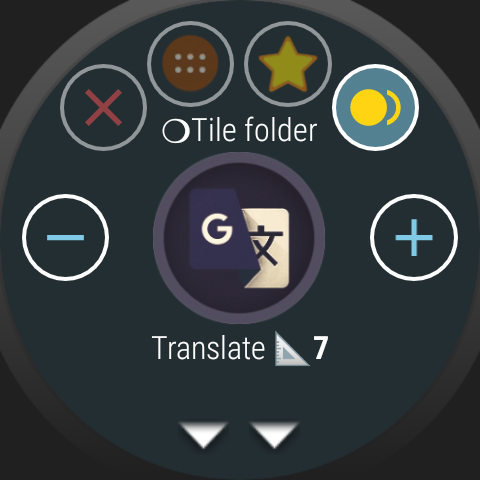
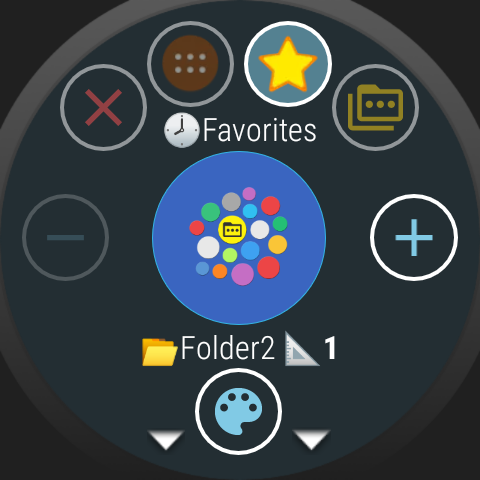
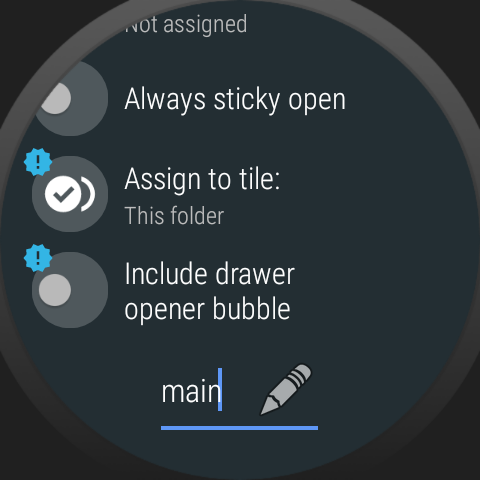
- Long press on the folder bubble and scroll down on the folder bubble edit screen for the setting:
- WearOS currently only allows 1 tile per application. So you can have only one folder assigned
- You can however move folders into the folder-tile, for organized access:
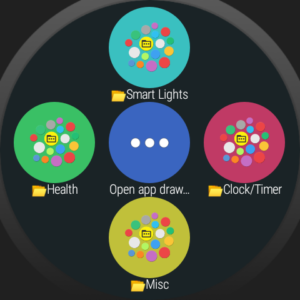
- Select “Open app drawer” to return to the way the Bubble Cloud tile worked earlier
:
- Long press on the folder bubble and scroll down on the folder bubble edit screen for the setting:
- When moving bubbles into the folders (using the cloud selector on the top of the screen) the tile folder is now marked with the tile symbol

- Tap the tile/folder symbol to select folder (it will even create a new folder: look for the “+” sign in front of the folder’s name – i.e. ?+Folder3)
-

Archive / Folder The folder which is assigned to the tile stays accessible from the app drawer too:
- You cannot edit bubbles when the folder is shown as tile (since WearOS handles long presses)
- To edit the bubbles in the folder you need to open it from your app drawer
- The folder will have the Tile symbol (see in red on the right) unless you customize the folder bubble from the Wear Cloud Editor on the phone.
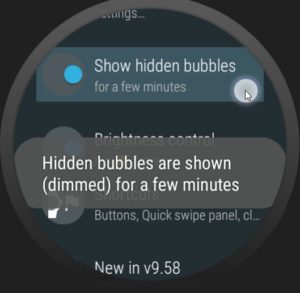
- Of course you can hide the folder, and then it’s only visible when the option “Show hidden bubbles” is enabled:
Watch the above video for demo and explanation
For more info please see:

